River epoxy tables have become a big deal in recent times. Introducing more modern and artistic designs has become the go-to option for people who can afford them. Anyone can use river epoxy tables when they need luxury furniture in their homes or office spaces, both in and out of the United States.
An epoxy river table is typically a table that is made with a combination of epoxy resin and wooden slabs. At the onset, river tables were usually created with two slabs and a river of epoxy at the center. Still, as times change and more people adopt the style, artisans are creating more elegant custom-made designs to meet the needs of their clients.
Need some ideas to guide you for a river epoxy DIY project? Learn the basics of what you’ll need from this article.
River Epoxy Table Inspiration
If you’re searching for ideas for your epoxy table, check out these few designs to help you get started with DYO.
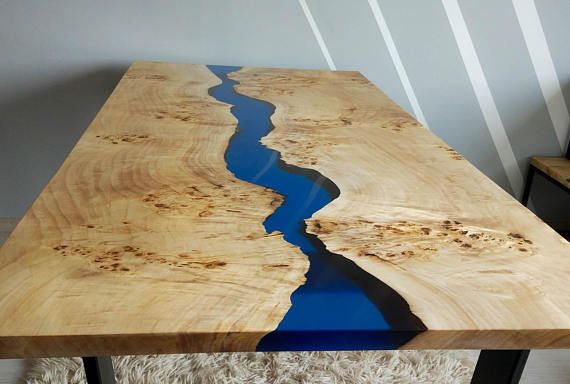
River Table With Blue Epoxy
Simple yet classy. You can go wrong with that combination, and this beautiful table here is the perfect mix. It can also fit whatever function you want.
Source: Pinterest
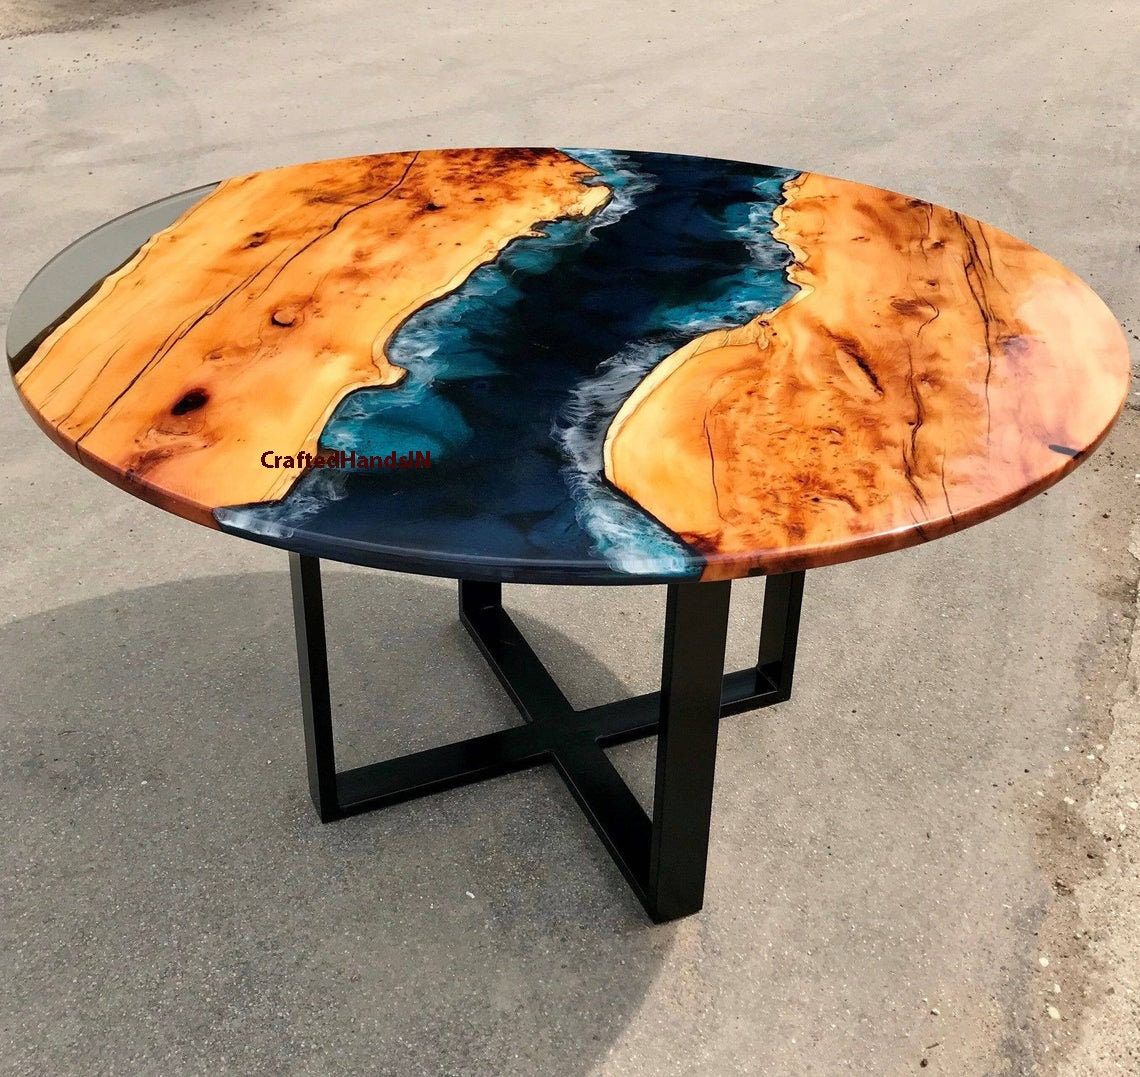
Black Epoxy Round Coffee Table
If you’re tired of traditional coffee table designs, this distinctive alternative will improve the area’s overall look.
Source: Pinterest
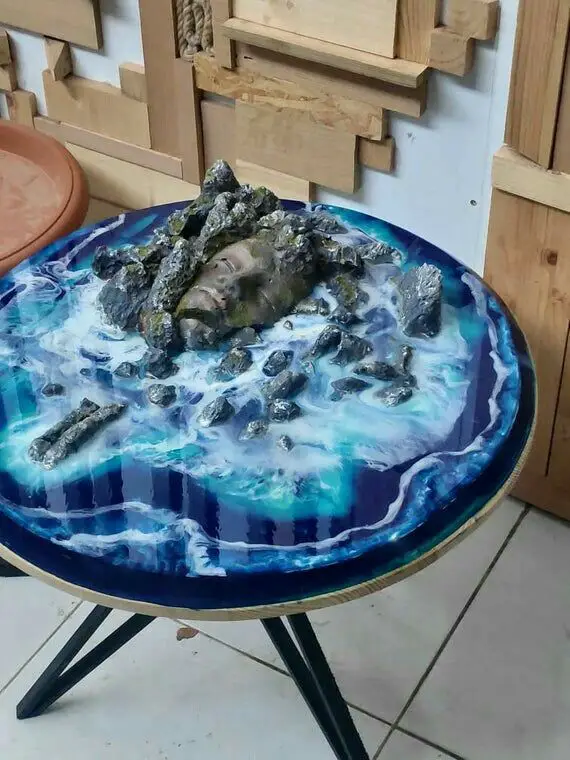
Blue Epoxy River Table With Rocky Mountains
Sometimes it’s easy to imagine that the best way to recreate a natural scene you love is to put it on wall art. However, people are recreating their favorite sceneries on a surface other than a canvas. This epoxy river table with the rocky mountain look is creative. It will do great justice to your living area.
Source: Pinterest
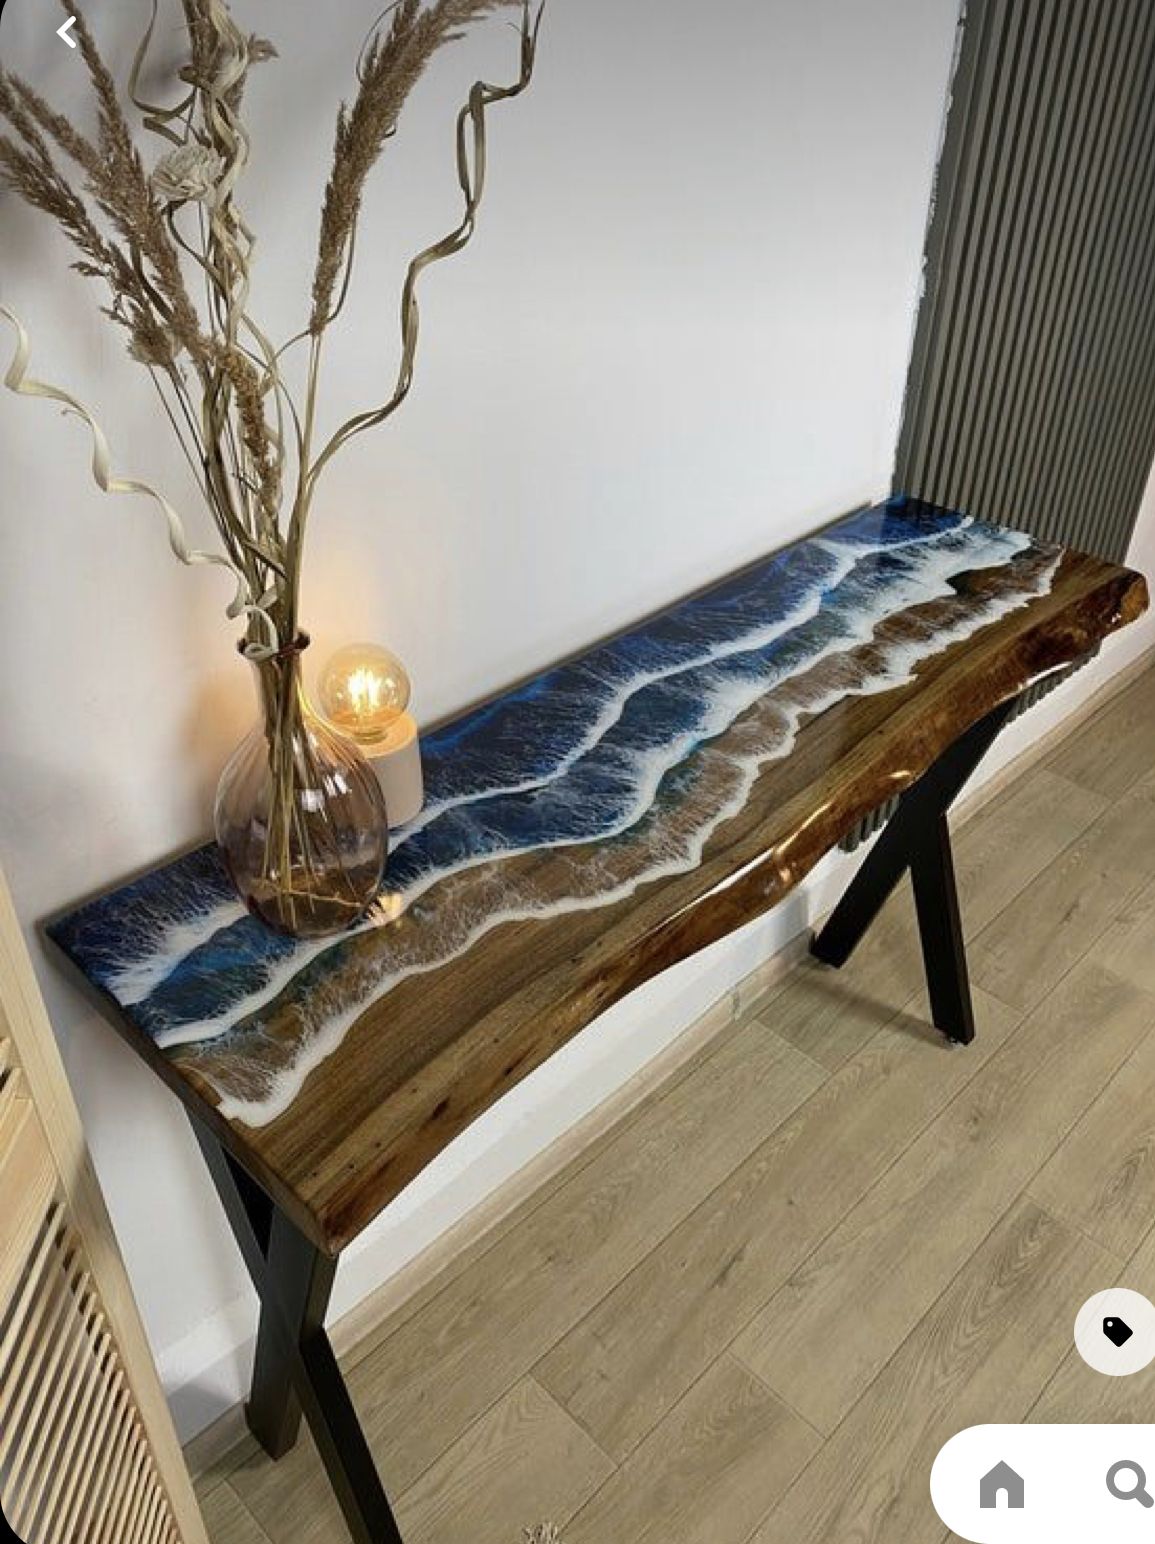
Decor Epoxy Beachfront Table
This display table is rare and perfect if you want a display table that’s a decor on its own. The glossy beachfront design and metal legs all come together quite nicely.
Source: Pinterest
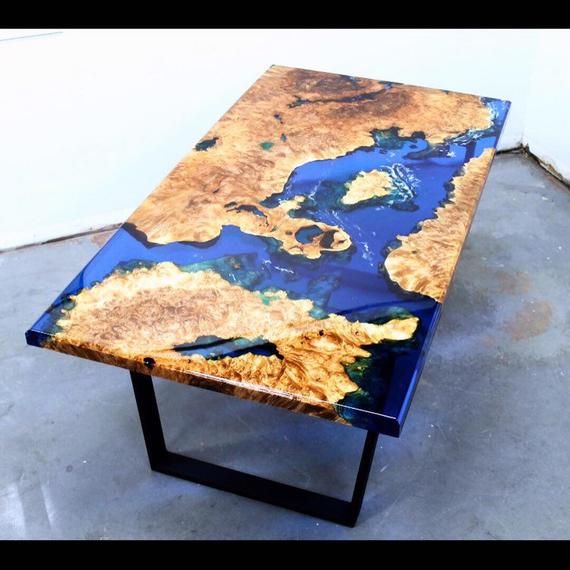
Epoxy Table With Winding River Pattern
The winding river pattern and beautiful designs on the wood make this piece quite remarkable. Its design is perfect for any room in your home.
Source: Pinterest
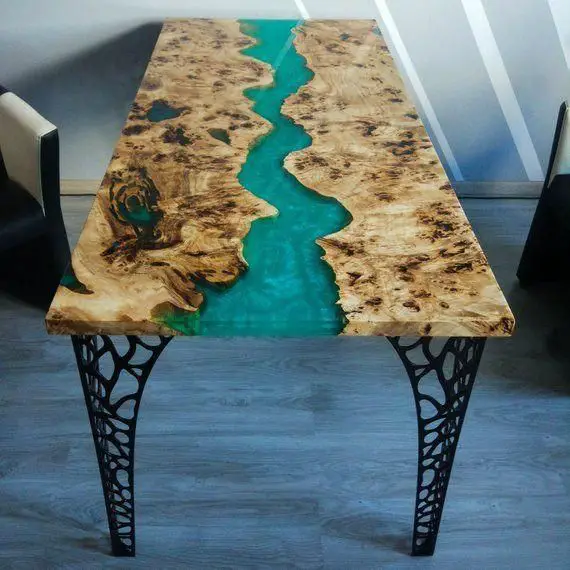
Vintage Epoxy River Table
Suppose you’re looking for an epoxy river table for your home, but want a more retro design; this is the perfect look. From the color of the epoxy resin to the details on the wood and metal legs, you have everything you need for the old-school theme you desire.
Source: Pinterest
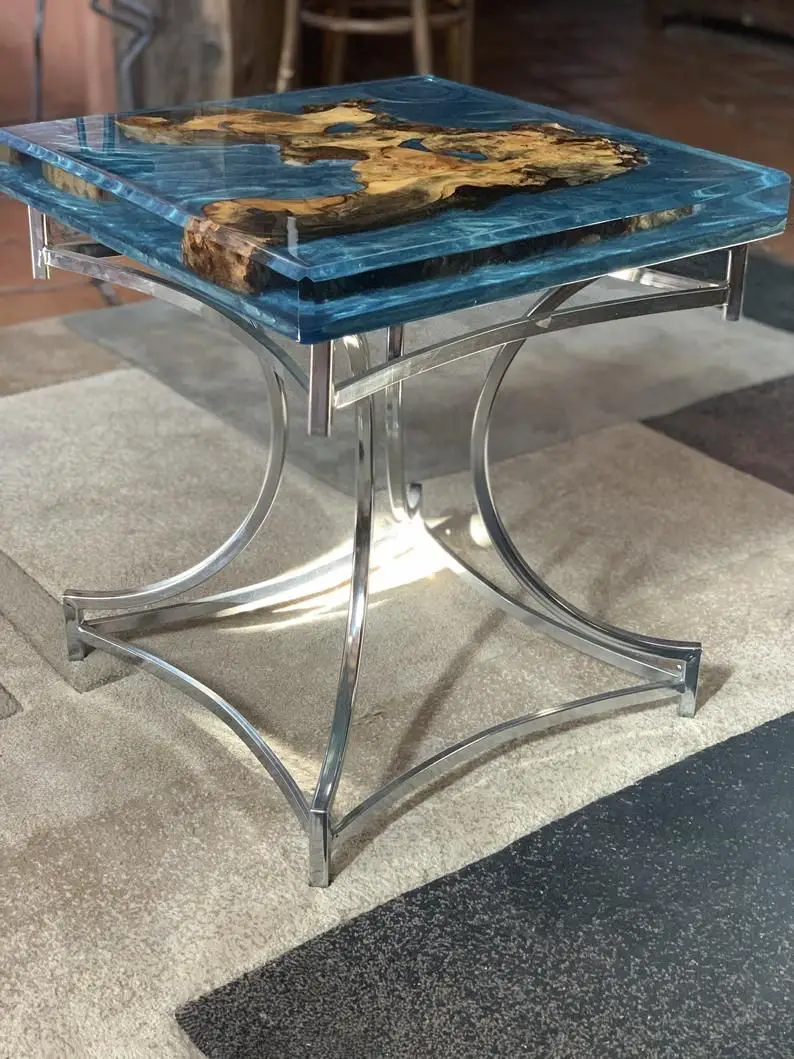
Exquisite Epoxy River Centre Table
This epoxy river table should solve that need when it comes to improving your house and giving it a clean look. The silver stand, the crystal clear waters, and the wooden piece complement each other.
Source: Pinterest
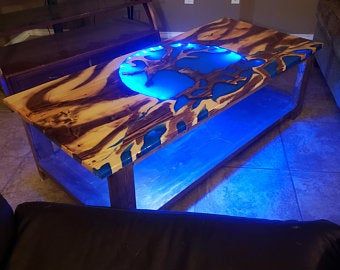
Glow In The Dark Blue Epoxy River Table
The intricate arrangements on the wood are combined to make this side table stand out. The glow-in-the-dark effect is a beautiful addition to an already outstanding piece.
Source: Pinterest
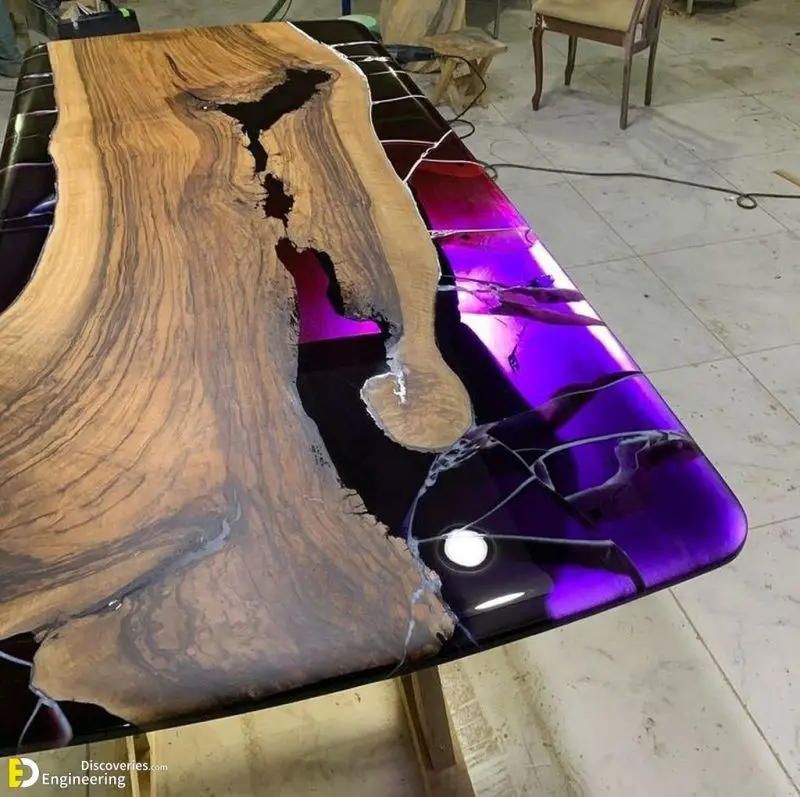
Purple Epoxy River Wooden Table
This purple epoxy is paired with wood in such a detailed pattern that it will do wonders for the dining room area. Complete the look with beautifully matched chairs.
Source: Pinterest
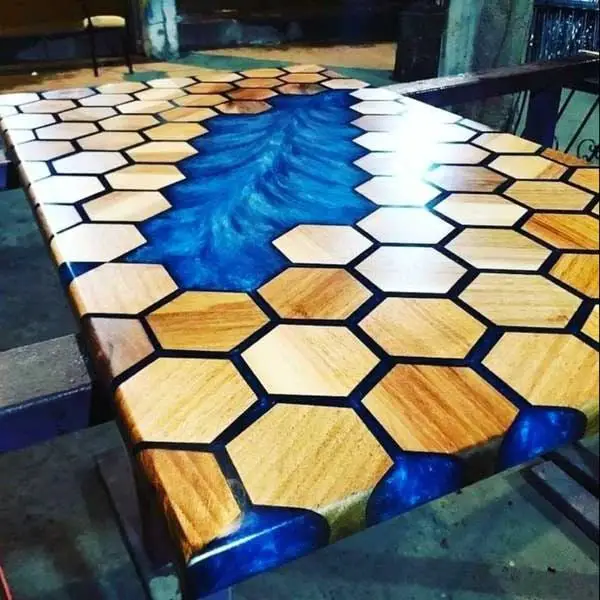
Blue Epoxy River Table With Wood Blocks
Tired of the traditional river-patterned epoxy table designs? This acacia wood epoxy table is perfect for spicing up your home. The wavy river pattern and the wooden hexagon-linked pieces come together flawlessly, giving the table an elegant look.
Source: Pinterest
Materials Needed
A simple epoxy river project does not require a lot of materials from start to finish. Some of the basic materials you would need to build an epoxy river table include:
- Safety Gear (Gloves and safety helmet or mask)
- Wooden Slabs
- Epoxy Resin
- Pigments
- Measuring Tape
- Flatteners and Sandpaper
- Mixers Tools and Containers To Mix
- Epoxy Finish
- Material for spreading finish onto the table surface.
Step By Step Guide On How To Make An Epoxy River Table
Making a DYO epoxy river table is no walk in the park. It will require lots of patience and work, but it’s pretty doable and worth the hassle. All you need is to follow the few steps laid down to be on your way to creating a modern river table to augment the look of your home.
Select Your Wooden Slab
Selection will depend on the type of table to be made and the kind of wood to be used, but overall you need to ensure that the wood you choose has no trace of moisture in it at all. It’s also crucial that the wood is flat and not warped, which could result from several reasons. If it is warped, you’ll need to flatten it out.
Prepare Your Slab
Suppose you plan to make a wooden table with epoxy resin in the middle. In that case, you need to divide your slab and give it whatever shape you’d want it to have at the center where the epoxy will fit. Check for any spaces and cracks on the wood and fill them with resin.
Then ensure that the slab is even on all sides by filling out the top and sides. Finish off using sandpaper to remove any dirt and debris lingering on the surface. Typically wooden slabs are cut to have a longer dimension than the required length to give room for adjustments in case of errors.
Place Your Slab In A Mold
When working on an epoxy river table, you need to prepare the surface of your workstation. Cover it up and place the wood around the area where the slabs and epoxy resin fill-in will occupy. Do this by using the measurements for the desired final dimensions of the table. The size has to be known to use less epoxy than estimated.
Place the slab in its mold and hold it down with clamps, so it doesn’t move while you work, and you can easily keep an eye on the level of the epoxy resin when you pour.
Prepare Your Epoxy
The epoxy is usually cloudy in its original state. Mix it thoroughly until it reaches a clear consistency before pouring your desired color. Pour your pigment/color in gradually and keep mixing, then add your hardener before your final mix. However, it’s best to follow whatever instructions come with the product regarding usage.
Once the mix is done, carefully pour the epoxy mixture into the mold space and leave it to dry up properly. Usually, you would have to pour a base layer and allow it to come out before pouring the first layer of epoxy and drying it with a heat gun. Then pour the second layer of epoxy and repeat the process done for the first layer.
Smoothen/Finish Your Epoxy Table
Once dried, unclamp your table and check for any disparity that might need sandpaper or flattening. Then cut your table down to size and clean it up with an epoxy finish and prepare to mount it on stands.
Fix A Stand/Legs
Once your table is done, you can fix its premade stands.
What Is The Cost Of Building A Wooden Epoxy Table?
Epoxy tables are magnificent, and that is probably why it’s expensive to make. However, some are even more pricey than others. The cost of building an epoxy table varies but depends on some factors.
Type and Size Of Wood
The prices of wood vary based on the type. For instance, pine wood is known to be cheaper than walnut wood. Anyone using walnut would have to incur more costs building their table than someone going for pinewood.
Small side tables and coffee tables require small dimensions of wood which will cost relatively less to build than a full dining table.
Cost Of Epoxy and Finishes
Epoxy resin finishes costing between $75 – $80 for each gallon. Your table could need up to 5, 10, or more, depending on your building size. You could be spending between $400 to $800 on your epoxy alone. The pigments used for the color should cost between $15 to $20.
Cost Of Labor
Suppose, for any reason, you are employing the services of an artisan. In that case, you can incur extra costs in building your table. Making a river epoxy table takes days of consistent work, and the artisans need to be fully compensated for the time spent, which is usually included in the overall cost.
However, even when it’s a DIY project, it’s still taking a considerable amount of your time that could have been used on other projects.
Cost Of Tools and Machinery
That will be a plus if you have all the tools and machinery you need for your epoxy river table project. If you need to buy these tools, hire or pay someone to do some of the finishes that’ll take up some extra cash out of your pockets.
Transportation Costs
Suppose you are using professional services, apart from the cost of materials and labor. In that case, you will also have to cover the costs of transporting the epoxy table from the workshop to where you need it.
Extra Cost Due To Errors
Beginners trying out a river epoxy table project are bound to make some errors on their first trial. Sometimes this cost could be negligible or run into three figures.
FAQs
How long will an epoxy river table take to dry?
It depends on several variables, including the depth of the pour and length. Occasionally it could take about 24 hours and sometimes as long as 72 hours to be considered dry to begin other finishes.
How long will it take to build an epoxy river table?
Building an epoxy river table could take from two to three days. Taking the time needed to allow the epoxy to dry into consideration.
Do epoxy tables damage quickly?
No. Epoxy resin is considered a strong finish, and that’s one of the other reasons for its widespread use apart from its aesthetic value. It’s durable and doesn’t damage easily.
Does an epoxy river table scratch easily?
No. The finishing is resistant to mild scratch unless it’s a deliberate effort to damage the surface. Rest assured that your table will be looking new for a while.
How Much does an epoxy river table cost?
The cost of an epoxy river table will depend on the size of the table. However, epoxy tables usually cost around $2500 to $3000 and above. If you research and discover that a DIY option is more cost-friendly and you have the right tools, go for it.
Conclusion
Epoxy river tables are the new trend that has come to stay. Every day new designs that rival anything out before it is being put out in the market. It can be a struggle to choose what’s best for you. The ideas listed should guide your decisions regarding designs and planning for the costs that taking on epoxy table projects will draw.


